Striking an Arc with an Electrode: Scratch and Tap Methods
Table of Contents
- What Should You Check Before You Strike an Arc with an Electrode?
- How Do You Strike an Arc with the Scratching Method?
- How Do You Strike an Arc with the Tapping Method?
- Why Does Striking an Arc with an Electrode Fail?
- When Should You Switch from Manual Striking to Automated Welding Equipment?
- What Do Welders Ask About Striking an Arc with an Electrode?
- Which arc striking method is easier for a beginner?
- Can you use both methods with any electrode?
- Why does the rod keep sticking even with fresh electrodes?
- Does arc striking matter in automated welding?
Striking an arc with an electrode is the first physical skill a welder learns, and it is also the step that separates clean starts from stuck rods and remade joints. The two standard methods are scratching and tapping, each with a different advantage depending on electrode type, position, and power source. I have seen line welders and maintenance crews struggle with both methods because they never learned the control points behind each one. Here is how to run both methods properly and where manual arc starting still fits before welding automation takes over.
What Should You Check Before You Strike an Arc with an Electrode?
Before the rod touches the plate, the power source, electrode condition, and joint access must be right. For SMAW, set amperage within the electrode manufacturer’s range. A 3.2 mm E6013 rod on low-carbon steel runs well in the 100 to 140 A range depending on position, but a 2.5 mm rod set at 120 A will overheat and stick. Polarity matters more than many welders expect. E6010 and E6011 generally run on DC electrode positive, while E6013 can run on AC or DC. If the electrode is damp, the arc will hunt, the rod will stick, and the coating will spatter. Keep electrodes in a sealed container, and dry opened low-hydrogen rods per the classification. Joint access is the last check. If you cannot see the start point without changing helmet angle, you will start blind and cure the problem with grinders.
How Do You Strike an Arc with the Scratching Method?
The scratching method uses a short, match-like sweep across the workpiece. Hold the electrode at roughly 60 to 70 degrees from the plate, lower the tip until it is just above the start point, and move the rod sideways along the joint like striking a match. As soon as the arc forms, lift the tip to the correct arc length and hold it at the start point until the puddle is stable. The key is not the scratch itself; it is the wrist movement at the end of the scratch. Most beginners sweep too far and leave arc strikes outside the weld zone, which can cause discontinuities on quenched and tempered steels. Others keep the rod too close after the arc starts and freeze the tip in the puddle.
This method is the better choice for flat and horizontal seams, open butt joints, and long production runs where every start must be exactly on the joint line. It also works well on AC machines because the arc does not demand a sharp initial contact. I use scratching on most manual root runs when the plate is clean and the joint is straight.
How Do You Strike an Arc with the Tapping Method?
The tapping method, sometimes called the pecking method, brings the electrode straight down or at a slight angle until the tip touches the plate, then lifts it fast enough to form the arc. It is the method to use in vertical and overhead positions, deep grooves, and short repair welds where a wide sweep would burn the joint edges. Keep the travel distance short: touch and lift, not push and bury. The lift is the control point. If you lift too slowly, the tip freezes. If you lift too high, the arc snaps out. The right lift is just past the sticking distance, usually two to three millimetres for a 3.2 mm rod.
Tapping demands a sharper power source response than scratching. DC inverter machines strike more easily than old AC transformer machines because they recover voltage faster after the short circuit. Service trucks and maintenance crews tend to use tapping because access is tight and the part cannot always be moved into a comfortable position. The penalty is that every bad tap leaves a tiny arc strike or a stuck rod at the start of the joint, so you have to be deliberate.
| Factor | Scratching Method | Tapping Method |
|---|---|---|
| Motion | Short sweeping stroke across the plate | Straight touch and lift at the joint start |
| Best position | Flat, horizontal, and long open joints | Vertical, overhead, and confined joints |
| Main defect risk | Arc strikes away from the weld line | Tip freezing or arc strike at the edge of the groove |
| Typical applications | Shop root runs, production tacking, AC machines | Field repairs, deep grooves, inverter machines |
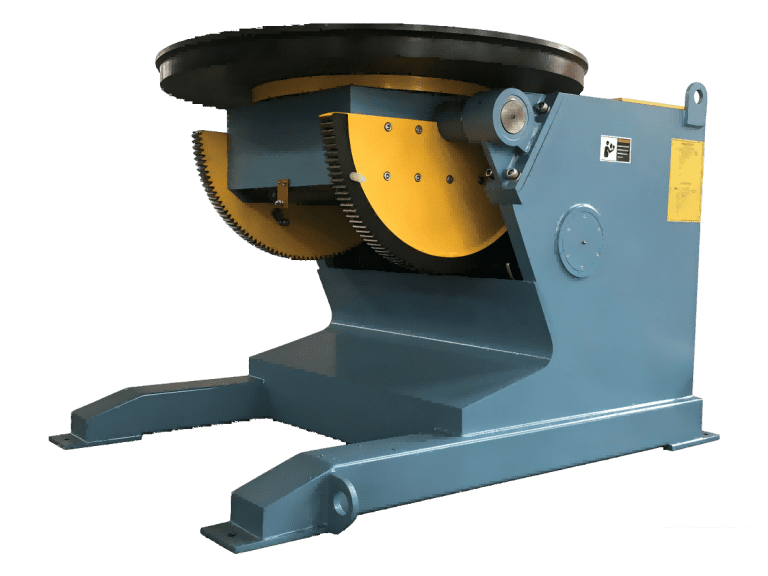
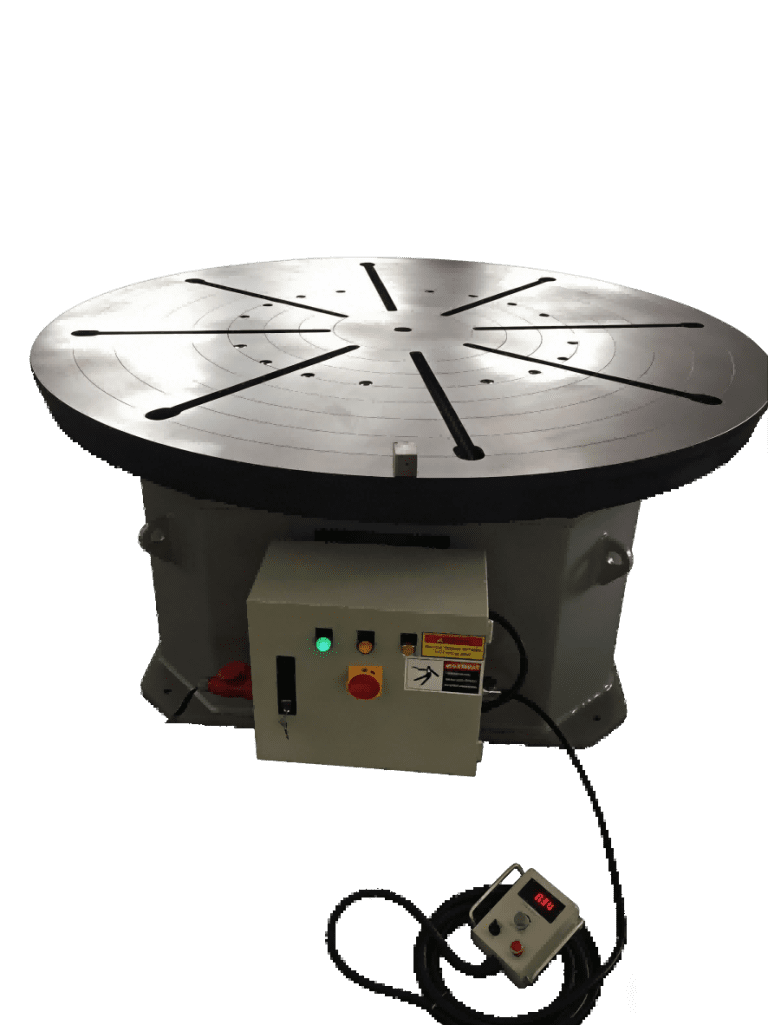
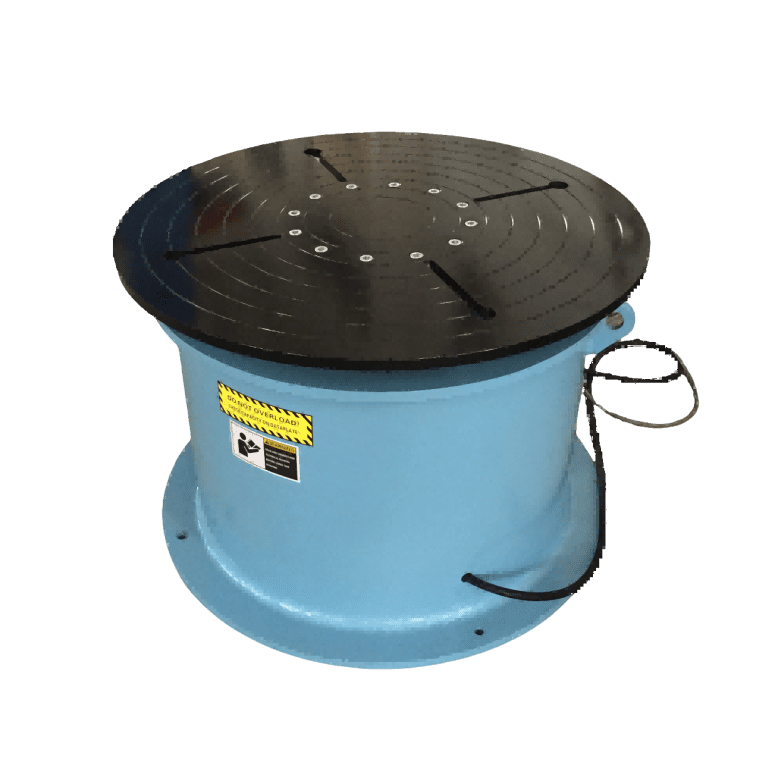
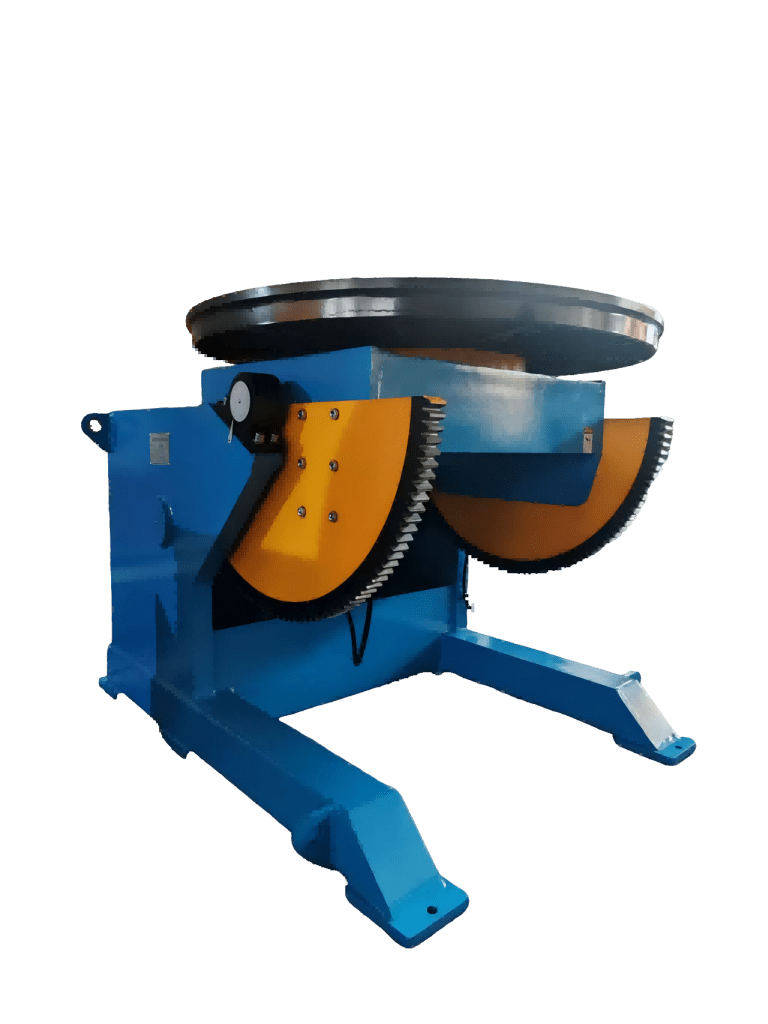
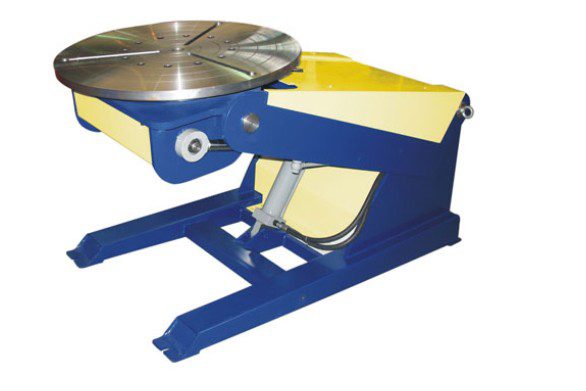
If your procedure mixes manual stick starts with automatic fill passes, check the positioner travel and joint access before the line is fixed. A welding positioner that cannot hold the joint flat will force more overhead starts, and every overhead start multiplies the tap method’s defect risk. Confirm the part diameter, weight, and weld position before finalizing the line layout. Reach out at [email protected].
Why Does Striking an Arc with an Electrode Fail?
Most arc-start failures happen for the same three reasons: the amperage is too low, the electrode is damp, or the lift height is wrong. When amperage is too low, the coating cannot ionize enough gas around the tip, and the rod sticks because the arc cannot establish a conductive path. Damp electrodes create the same effect because moisture cools the arc root and destabilizes the puddle. Lift height is more common in tapping; if the tip leaves the plate too fast, the arc stretches and breaks before the puddle forms.
A less obvious failure is poor work clamp placement. If the clamp is on a rusted or painted surface away from the joint, the circuit resistance rises, and the open-circuit voltage at the electrode tip drops. Move the clamp to clean base metal within 300 mm of the joint when possible. This is the kind of field correction I have made on structural repair jobs where the machine was fine, the rod was dry, and the arc would still not start cleanly.
When Should You Switch from Manual Striking to Automated Welding Equipment?
Manual arc starting still belongs anywhere the first pass is short, access is bad, or the job changes constantly. Once the weld length, production volume, or repeatability requirement rises, automating the start removes the defect source. In automated GMAW, FCAW, or submerged arc welding, the wire feed and power source coordinate the arc start, so no scratch or peck is needed. The operator’s job moves from striking an arc to controlling travel speed, joint fit-up, and preheat.
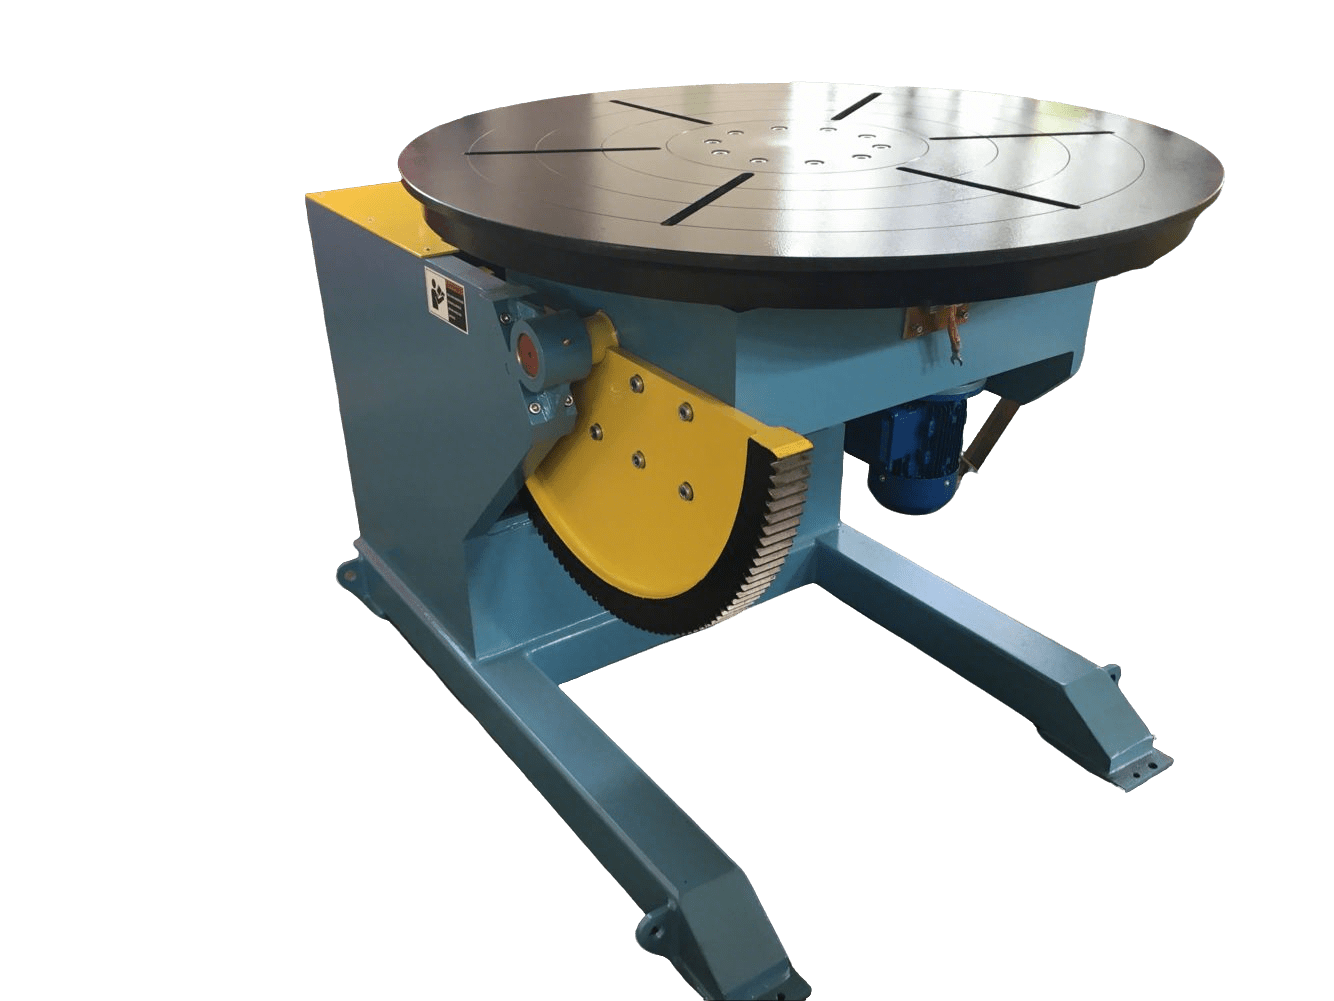
That is why we tell clients to separate two different welding roles. If the part is a one-off repair, keep the manual rod and spend the time on technique. If the part repeats in batches or the seam is longer than a few metres, use a welding rotator or a welding manipulator to hold the torch and workpiece steady.
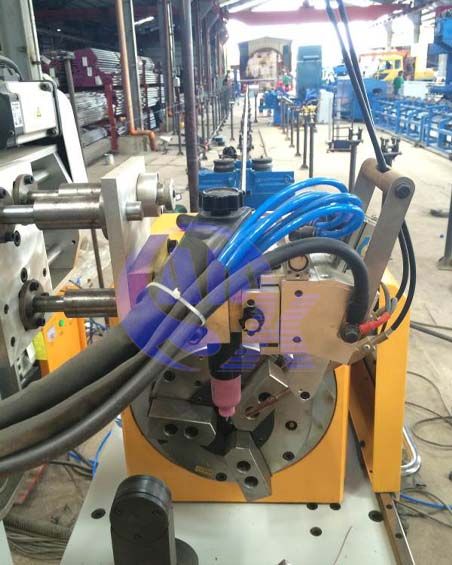
Manual arc starting problems rarely stay manual. Once a shop moves from occasional stick repair to regular production, the correct electrode, dry storage, amperage control, and positioning equipment all enter the same decision. If you are planning a line with manual root passes followed by automatic fill, or if you need to reduce arc-start defects on cylindrical parts, send your electrode specification, joint drawing, and production volume to [email protected] or call +86 13616174307. WUXI ABK MACHINERY CO., LTD can review the fit-up and positioning side with you.
What Do Welders Ask About Striking an Arc with an Electrode?
Which arc striking method is easier for a beginner?
Scratching is easier for most beginners because the sweeping motion gives a larger margin for error. The rod can slide along the plate and still form an arc without freezing. Tapping requires a precise lift and feels less forgiving until hand control improves. I usually start new welders on flat plate with a 3.2 mm E6013 rod, set amperage in the middle of the range, and have them use the scratching method until the puddle forms consistently. After that, tapping in vertical and overhead positions makes more sense because the sweep is harder to control.
Can you use both methods with any electrode?
Most welders assume vertical and overhead positions always need tapping, but scratching can work on vertical joints if the plate is clean and the rod angle stays steep. The real limitation is electrode type. Cellulose electrodes such as E6010 strike aggressively and handle tap starts well, while E7018 low-hydrogen rods can be more sensitive to a long arc during the first two millimetres of travel. The joint access matters more than the rod brand. In a tight root opening, tapping is often the only practical way to place the arc exactly on the root face.
Why does the rod keep sticking even with fresh electrodes?
It depends on what is causing the stick. If the amperage is below the electrode range, raise it in small steps until the arc starts and stabilizes. If the electrode has been stored in a humid area, dry it or use a sealed container, because moisture makes the coating splutter and freeze the tip. If the work clamp is on dirty steel, grind the contact area and attach it close to the joint. A sticking rod is rarely one fault. On many site visits, the rod was fresh and dry, but a bad clamp location was still causing the stick.
Does arc striking matter in automated welding?
In automated systems we have supplied, the power source controls the arc start sequence, so manual scratching or tapping no longer affects weld quality. The operator still checks wire stick-out, gas flow, and joint alignment, but the high-low current pulse at the start replaces the hand movement. This does not mean arc starting is less important. It means the start parameters now live in the machine program. If you are moving from manual stick welding to a semi-automatic cell, specify your electrode or wire type, plate thickness, and joint position before the line is built. Share those details with us at [email protected] and we will confirm which equipment fits the start sequence.
If you’re interested, check out these related articles:
Achieve Production Success With One-Stop Welding Automation
One-Stop Welding Automation: Build a Complete Production Line Setup
CNC Water Jet Cutting: Precision, No Heat, Any Material
Storage Tank Fabrication: Core Equipment and Manufacturing Process