RIDGID B500 Pipe Beveler: Limits and Smarter Alternatives
Table of Contents
- RIDGID B500 Pipe Beveler Capabilities
- Best Applications for the RIDGID B500 Pipe Beveler
- Practical Limits and Failure Points of the RIDGID B500
- The Right Pipe Beveling and Welding Equipment for Production Work
- Common Questions About the RIDGID B500 Pipe Beveler
- Does the RIDGID B500 work on stainless steel pipe?
- Can the B500 produce a consistent land or root face?
- Should I buy a RIDGID B500 or a motorized pipe beveling machine?
- How do I extend cutter life and hold bevel angle accuracy?
A portable pipe beveler only earns its place when it matches the pipe size, wall thickness, and joint volume the crew actually faces. That is why the RIDGID B500 pipe beveler still appears on so many pipe fitter tool lists. It covers a narrow but useful range: clamp-on beveling for small-diameter field welds without dragging a power source to the pipe rack. In my experience, that strength also defines its ceiling. For high-volume weld prep or larger pipe, a purpose-built powered beveling machine and proper fit-up equipment generate better repeatability than any hand-driven tool.
RIDGID B500 Pipe Beveler Capabilities
The B500 is best understood as a field weld prep tool, not a production beveling machine. It clamps to the pipe outside diameter and feeds a cutter around the end to remove the square edge and create the bevel angle required for a butt weld. The operator sets the angle and advances the cutter by hand, which makes the tool useful where power is unavailable or the joint count is low.
Because the tool does not rely on electric or pneumatic drive, a pipe crew can bevel a short stub or repair joint without setting up a generator or running an air hose. The tradeoff is operator-dependent feed pressure and clamp alignment. If the clamp is seated incorrectly or the cutter is dull, the bevel angle and land width vary from joint to joint.
This is one reason we treat the B500 as an access tool rather than a substitute for a shop beveling station. It solves reach and portability problems, not output problems.
Best Applications for the RIDGID B500 Pipe Beveler
In practice, a clamp-on beveler earns its cost in jobs where the welding crew is spread across several floors or below decks and needs to prepare a few joints at a time. I have seen this pattern in process piping repairs and mechanical room retrofits, where a handful of 1-inch to 4-inch butt welds must be ready for fit-up before the welder moves to the next location. The B500 fits that pace because setup is quick and the tool moves with the fitter.
The tool also works well when the existing pipe end is out of square and the alternative is slow hand filing. Instead of reshaping the edge by eye, the cutter follows the pipe circumference and leaves a cleaner bevel than a grinder in cramped access.
The key condition is material and wall thickness. On thin-wall stainless, feed pressure must stay light, or the cutter will chatter and tear the edge instead of cutting it. On carbon steel, a sharp bit and steady rotation produce a weld-ready bevel quickly.
Practical Limits and Failure Points of the RIDGID B500
The clearest failure point is not the tool itself but what it is asked to do. Once project joint counts climb, the hand-driven cycle becomes the bottleneck. A bevel that takes a minute or two on one repair joint becomes a different calculation when a spool shop is preparing 80 ends a shift. At that point, the better question is not whether the B500 works but whether the process can keep up.
A second failure mode comes from clamping. Because the tool is held against the pipe by the operator, a heavy-handed cut can push the cutter into the wall and create an uneven root face. If the land varies around the circumference, the fit-up gap opens on one side and closes on the other, and the welder burns more time on tacking and rework.
Third, cutter condition determines geometry. Dull bits do not cut, they rub and gouge. The result is a bevel that looks acceptable but has local valleys, higher roughness, and inconsistent angle. For critical welds, that becomes a weld quality issue before the first pass starts.
If your project involves several dozen butt welds or pipe above 4 inches, it is worth confirming bevel angle, land width, and driven feed control before the work starts. Email [email protected] with your pipe diameter and monthly joint count, and we can determine whether a powered beveler or a weld positioner makes more sense.
The Right Pipe Beveling and Welding Equipment for Production Work
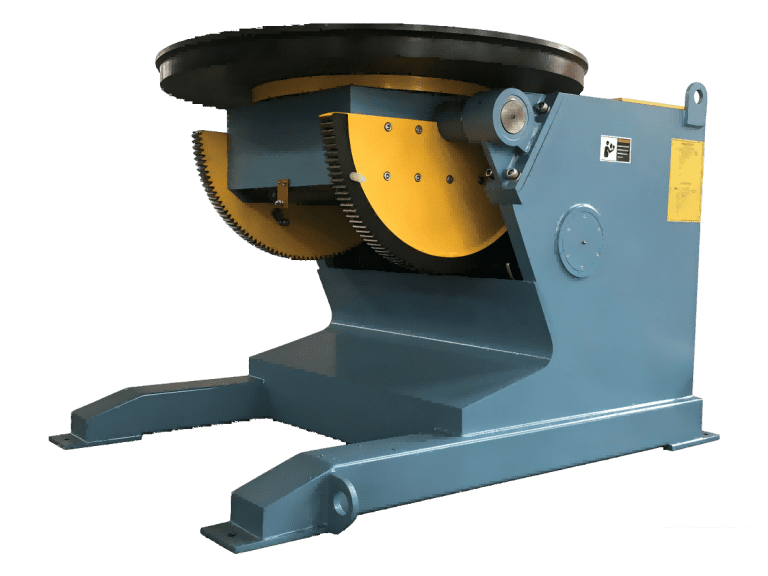
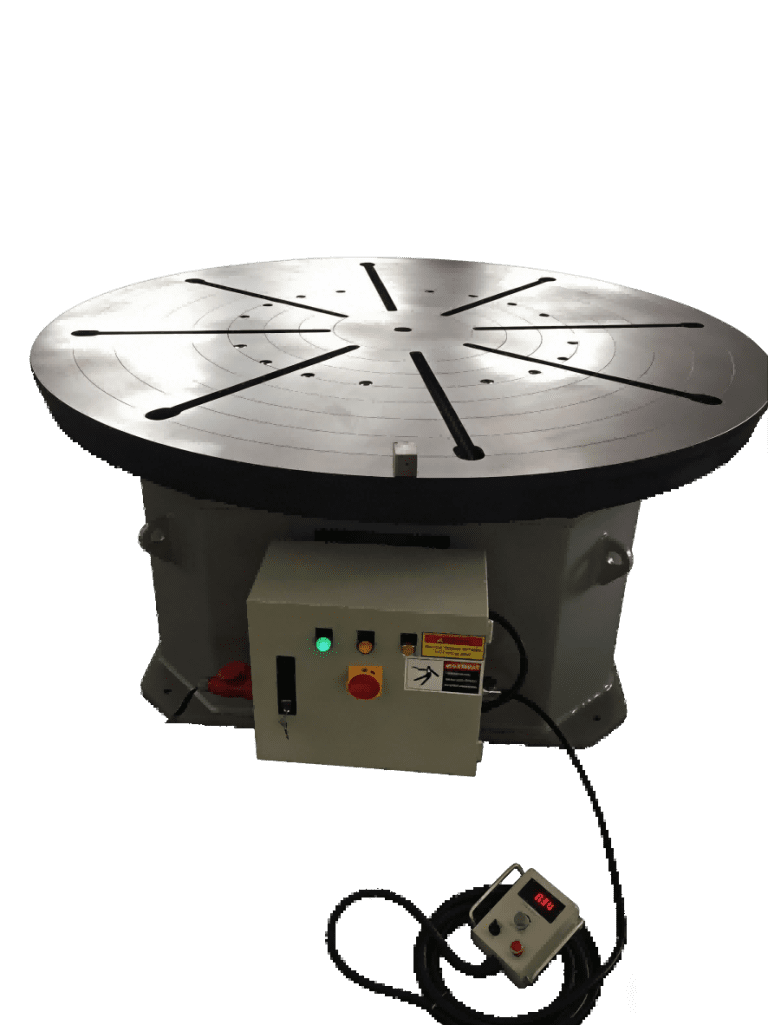
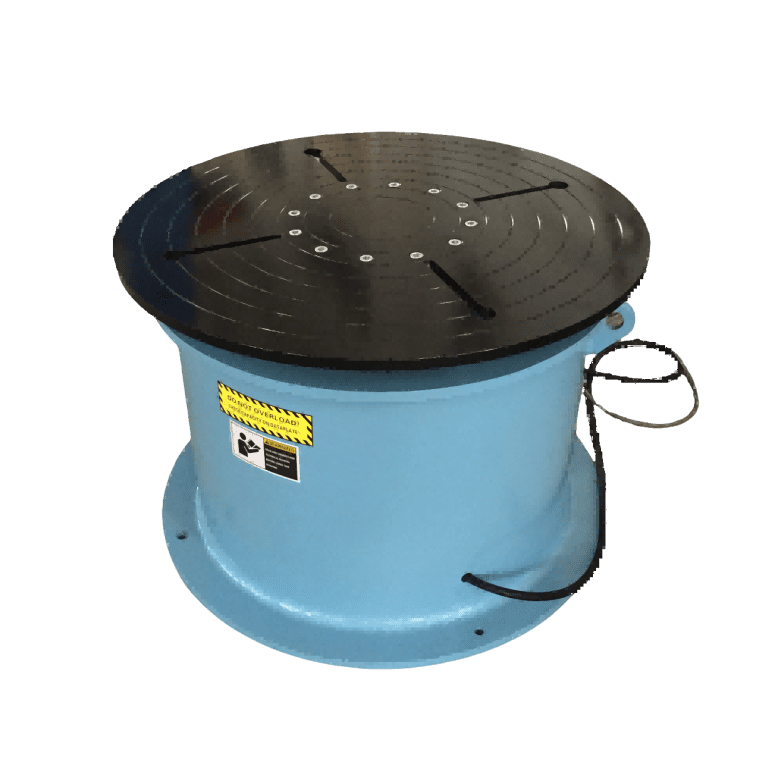
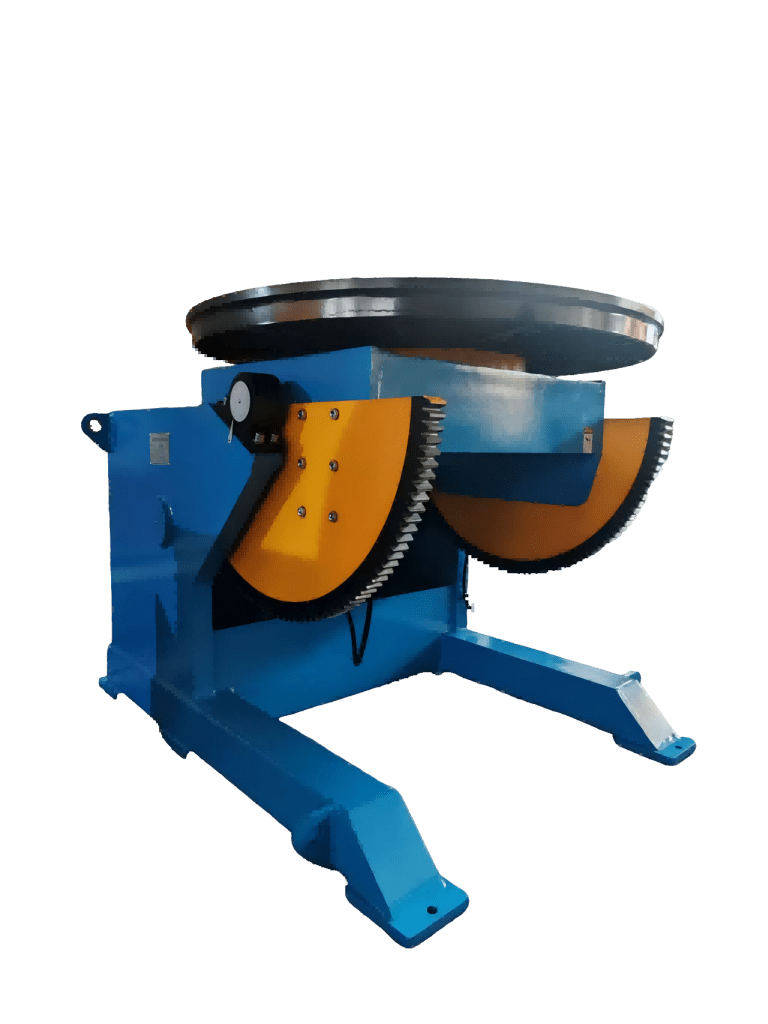
For larger pipe, thicker wall, or production volume, the decision usually moves from a hand-held beveler to a motorized pipe beveling system or a workpiece positioning setup. In our work, weld prep does not stop at the edge. The pipe also needs to be held, rotated, and aligned for the root pass, fill, and cap. That is where a manual beveler solves only the first few percent of the job.
Three approaches show the difference clearly:
| Approach | Best Fit | Main Limitation |
| Manual clamp-on beveler | Field repair, small bore, low joint count | Operator-dependent land and angle |
| Powered pipe beveling machine | Shop repeat work, larger pipe, bevel plus land | Higher cost, less portable |
| Welding positioner or rotator plus beveling | Heavy cylinders, pipe spools, automatic welding | Requires floor space and setup |
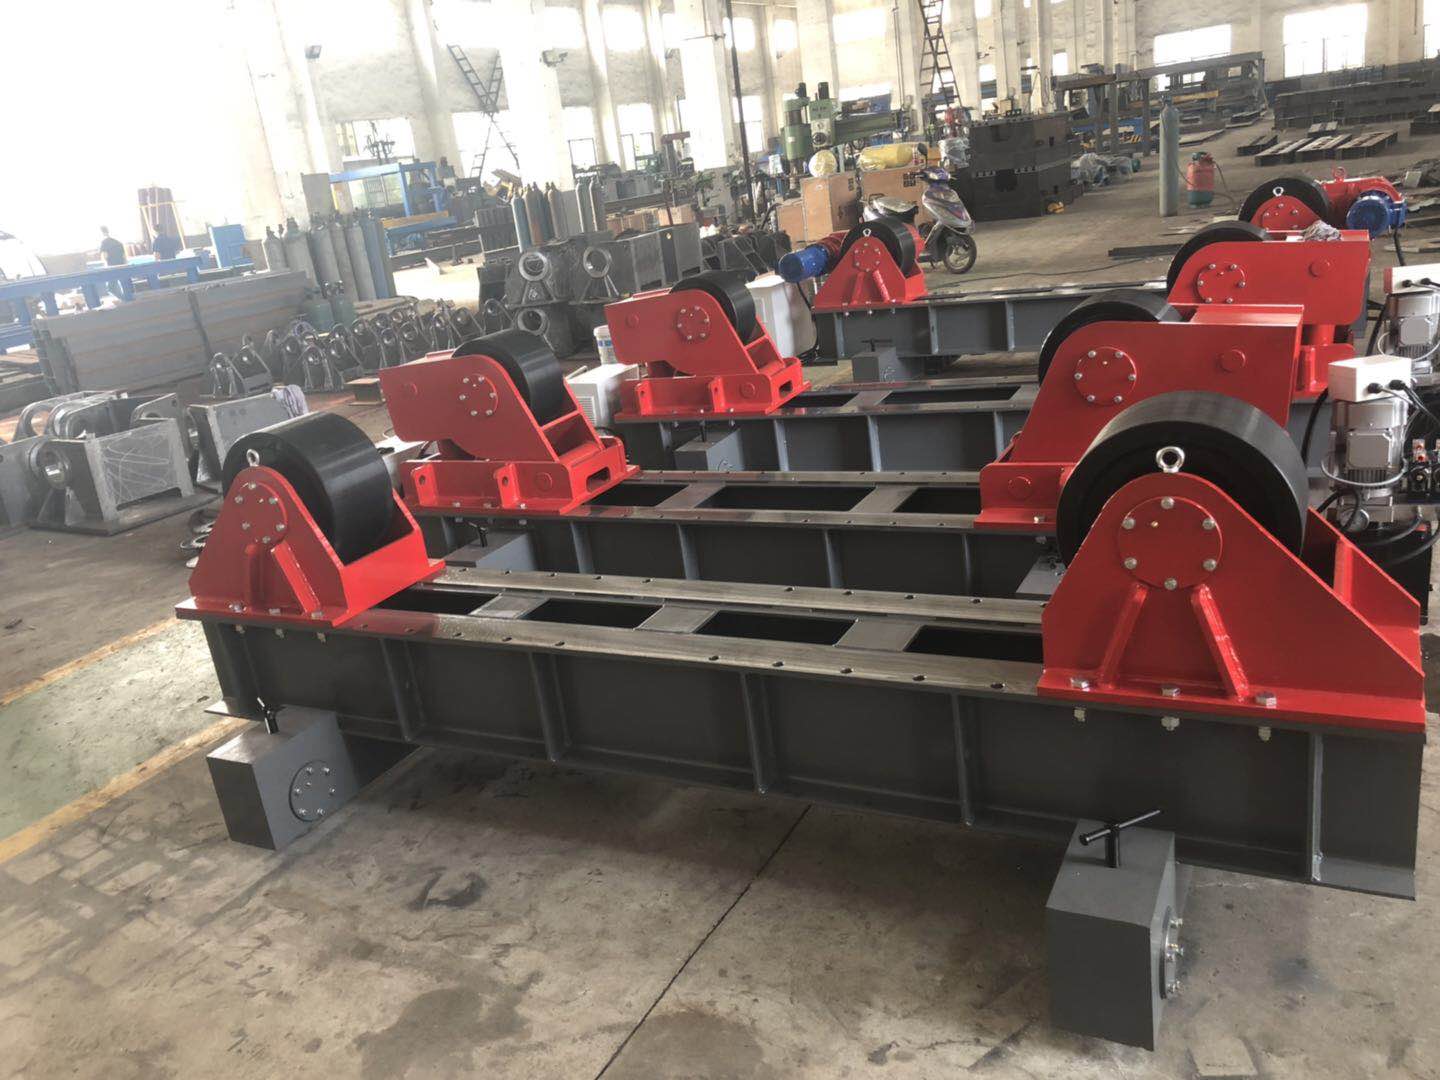
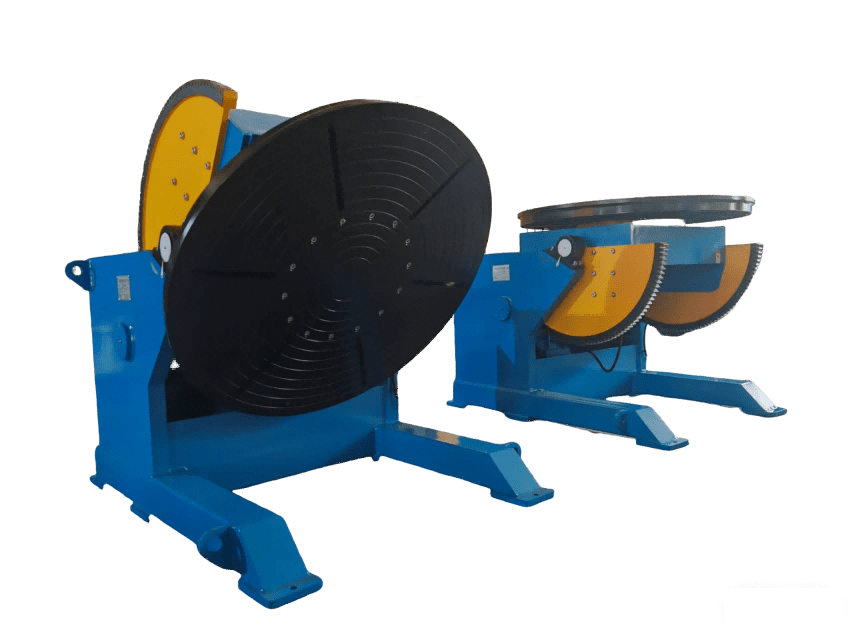
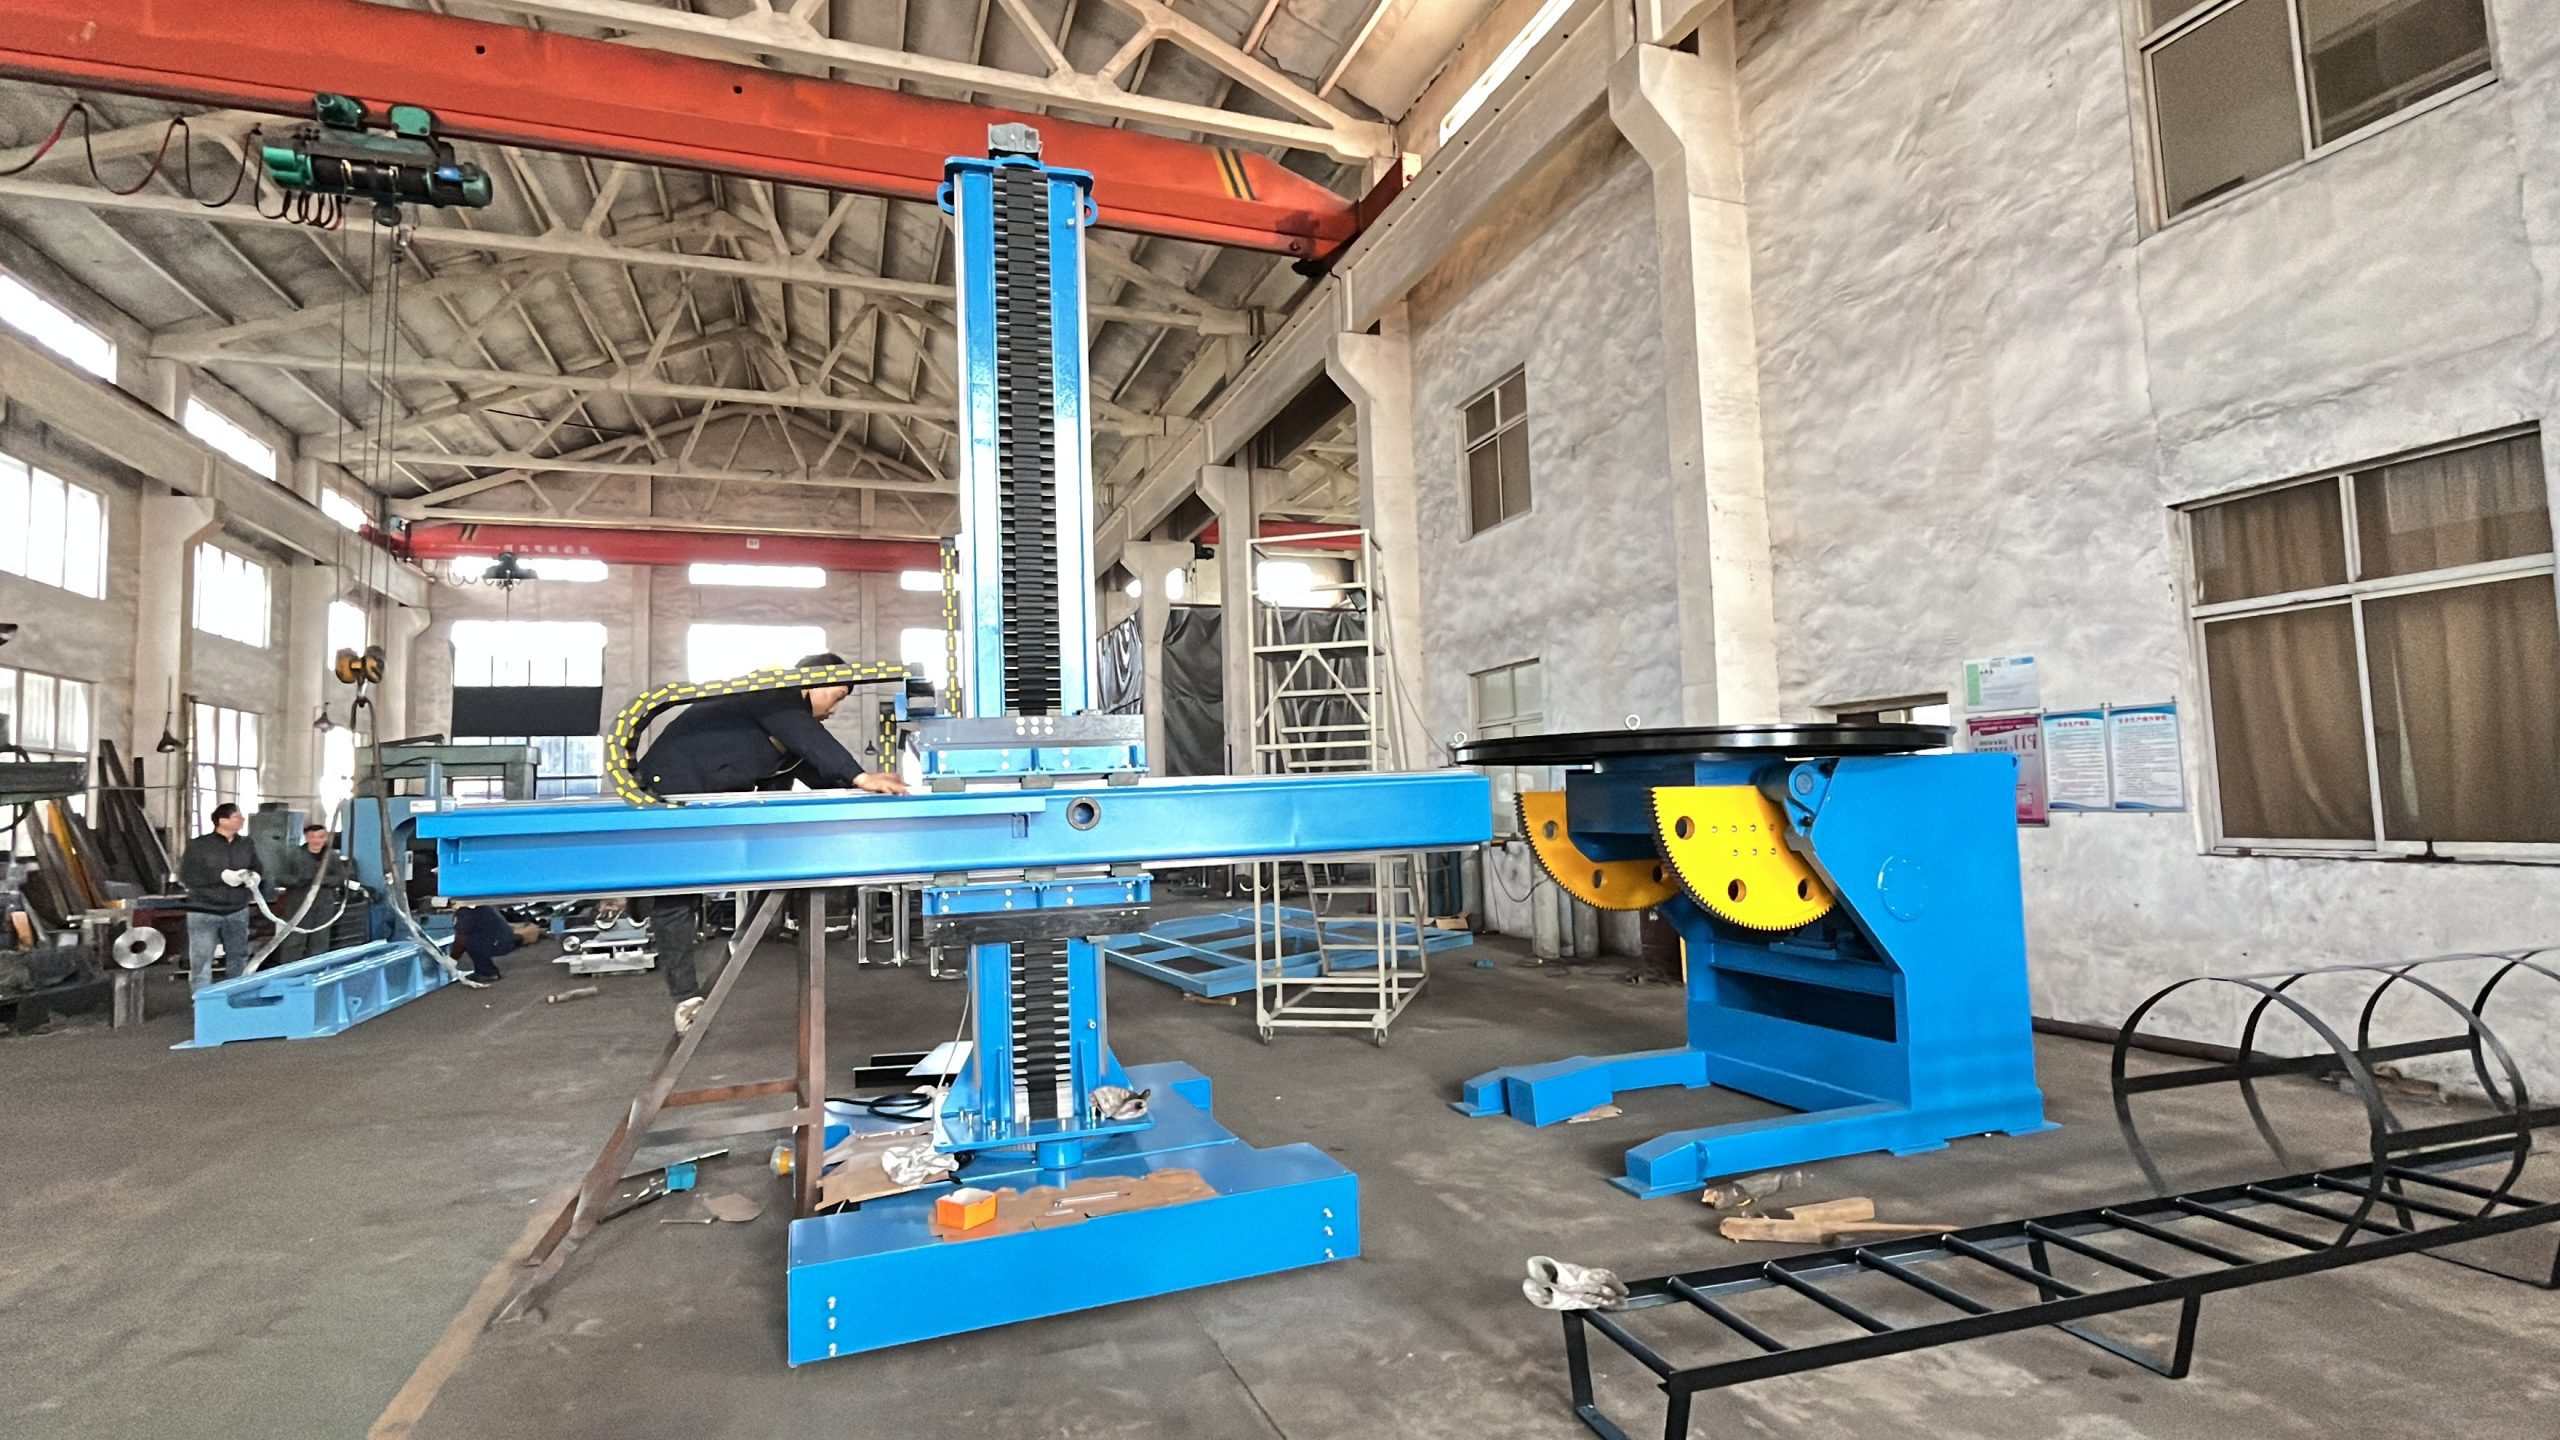
In production environments we have supplied, controlled land width and consistent bevel angle have reduced tack time and made the root pass more stable. That is the real comparison: the B500 buys access, while driven equipment buys repeatability.
For the production side of that choice, see Pipe [Welding Rotator](https://www.abokemc.com/product-category/welding-rotator/) vs Manual Welding | Productivity and Cost Comparison. Positioning setup selection matters more than the beveler in many spooling cells, and we review selection factors in Fixed vs Adjustable Welding Positioners: How to Choose the Right Tool.
Before you commit a tool to the job, send the actual production data: pipe outside diameter, wall thickness, material, required bevel angle, and expected monthly joint count. From there we can confirm whether the RIDGID B500 is enough or which motorized beveling and positioning setup will keep your welders welding instead of fighting fit-up. Contact Jan at [email protected] or call +86 13616174307.
Common Questions About the RIDGID B500 Pipe Beveler
Does the RIDGID B500 work on stainless steel pipe?
Yes, with a light and even feed. Stainless steel work hardens quickly, so a dull cutter or heavy pressure will tear the edge instead of cutting it. Use sharp tooling, keep the cutter moving steadily, and check the land width after the first end before running the remaining joints. For thin-wall stainless in process piping, frequent chip clearing also matters. If the edge roughness increases partway through the job, stop and inspect the cutter rather than pushing harder. That habit protects both the bevel angle and the weld fit-up.
Can the B500 produce a consistent land or root face?
A common misunderstanding is that the tool itself controls the land. The operator does, through feed pressure and cutter condition. If the clamp is seated squarely and the cutter is sharp, land width can remain consistent around the pipe. If the operator rushes the last portion of the cut or lets the tool rock, the land wanders and the fit-up suffers. For butt welds that will be radiographed or manually inspected, the best practice is to bevel one end, measure the land, and lock in the setup before continuing.
Should I buy a RIDGID B500 or a motorized pipe beveling machine?
It depends on joint count, pipe range, and location. If the work is scattered field repair on small-bore pipe, the B500 is often the more practical choice because it travels with the fitter and needs no power supply. If the shop is preparing dozens of identical ends each shift, a powered machine returns the investment through cycle time and repeatability. The crossover is not fixed, but once weld prep becomes the bottleneck in the production sequence, manual beveling is usually the wrong constraint to tolerate.
How do I extend cutter life and hold bevel angle accuracy?
In field jobs I have worked on, most geometry problems started with a dull cutter or an uneven clamp. Rotate or replace bits before the cut quality visibly drops, clean the clamp area before mounting, and avoid using the tool as a grinder for heavy stock removal. Light passes give a better finish and longer tool life. The same applies to land width: an accurate setup checked on the first end prevents most downstream fit-up rework. Send your pipe diameter, wall thickness, and required bevel angle to [email protected], and we will confirm whether the issue is tooling, setup, or the wrong beveling process for the job.
If you’re interested, check out these related articles:
Welding Equipment Factory Audits: Secure Quality Before Purchase
One-Stop Welding Automation: Build a Complete Production Line Setup