DIY Fab Table Basics: Building a Flat, Safe Welding Surface
Table of Contents
- Key Checks Before You Build a DIY Fab Table
- Material and Frame Decisions for a DIY Fab Table
- Clamping, Leveling and Heat Control for DIY Fab Table Builds
- Applications Where a DIY Fab Table Pays Off
- Confirming DIY Fab Table Specifications Before You Build
- Common Questions About DIY Fab Tables
- How thick should a DIY fab table top be for general welding?
- Is it better to use casters or fixed legs on a fab table?
- Can you use a DIY fab table for production welding?
- Should the top be painted or left bare?
A DIY fab table is usually the first serious piece of shop built equipment a fabricator makes, and the choices that matter most are not the ones most plans emphasize. Top flatness, frame restraint, and clamp access determine whether the table helps you hold parts or fights you on every fit-up. I have checked enough homemade tables in customer workshops to know that a small frame error turns into hours of shim work later. Material selection, build sequence, and clamping layout all follow from those early checks.
Key Checks Before You Build a DIY Fab Table
Most build guides start with a materials list. I start with three checks that determine whether that list is even valid.
First, decide what has to sit on the table. A top built only for small brackets needs less thickness than one carrying a 300 kg weldment. Write down the largest workpiece you expect, including its overhang, because overhang changes how much clamping force reaches the edges. If the top overhangs the frame by more than 150 mm without support, the plate will flex under heavy hammering or clamping.
Second, look at your floor. A DIY fab table does not need a machined surface, but it needs a stable base. If the shop floor is uneven, adjustable feet matter more than heavy casters. I have seen tables built square in a flat workshop and then set on a sloped pad where every corner loaded differently. Leveling is a build decision, not a final assembly step.
Third, plan the ground path before the top goes on. A clean bolt-on lug near one corner works better than a painted leg. Arc marks and hot spots often trace back to paint under the ground connection, not to the welder.
Material and Frame Decisions for a DIY Fab Table
Top plate material and frame profile decide both cost and performance. For a DIY fab table, an A36 steel plate from 12 mm to 16 mm thick is the practical starting point for most shops. A 50 mm square tube with a 3 mm wall is usually stiff enough for legs and lower rails, while a 50 mm by 100 mm rectangular tube works for the edge rails because it gives the top a continuous bearing edge.
| Component | Practical specification | Why it matters |
|---|---|---|
| Top | 12 mm to 16 mm A36 steel plate | Resists clamping force and hammering, stays flat under moderate heat |
| Edge rails | 50 mm by 100 mm by 3 mm rectangular tube | Supports plate edges and gives clamp attachment points |
| Legs | 50 mm by 50 mm by 3 mm square tube | Easy to square and brace, stiff without excess weight |
| Cross ribs | 50 mm by 50 mm by 3 mm square tube at 600 mm centers | Limits top flex between edge rails |
| Feet or casters | Two fixed casters and two locking swivels, or adjustable pads | Keeps the table stable when welding and movable when needed |
Mark all mating surfaces before welding. A small combination square will reveal a leg cut 2 degrees out of square faster than a tape measure. Weld short sections in sequence instead of running a continuous bead down one side, because the frame pulls as it cools. If you are working alone, clamp the frame to a pair of sawhorses and check both diagonals before any bead.
If your DIY fab table will carry heavy weldments or long frame members, it is worth confirming cross rib spacing and edge overhang before you cut steel. Email your planned top size and maximum part weight to [email protected], and I will check whether the frame layout is safe for the load.
Clamping, Leveling and Heat Control for DIY Fab Table Builds
Clamping layout decides whether a DIY fab table becomes a tool or just a surface. I prefer a grid of 16 mm holes on 100 mm centers for general work, with a solid perimeter band for edge clamps. The hole spacing does not have to be perfect across the whole top unless you are building a dedicated fixture table. What matters more is that holes land consistently so clamp arms do not bind.
Weld ground placement is part of the same decision. A clean bolt-on grounding lug near one corner works better than relying on a painted leg. If the table starts to show arc marks or changes resistance, the problem is usually paint under the ground path. Keep that area bare.
Heat is not the enemy on a steel top. Uneven heat is. Weld shorter runs and let the plate cool before checking flatness. On a thin top, avoid welding repeatedly in one spot, because local expansion can lift the plate off the frame and leave a permanent bump.
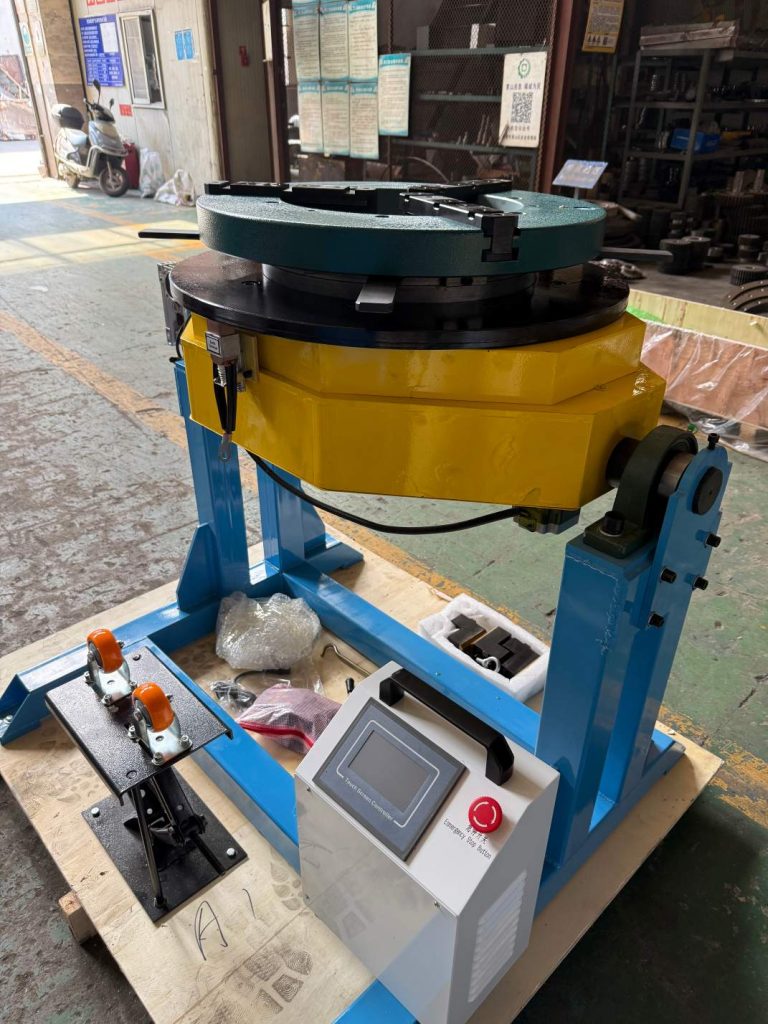
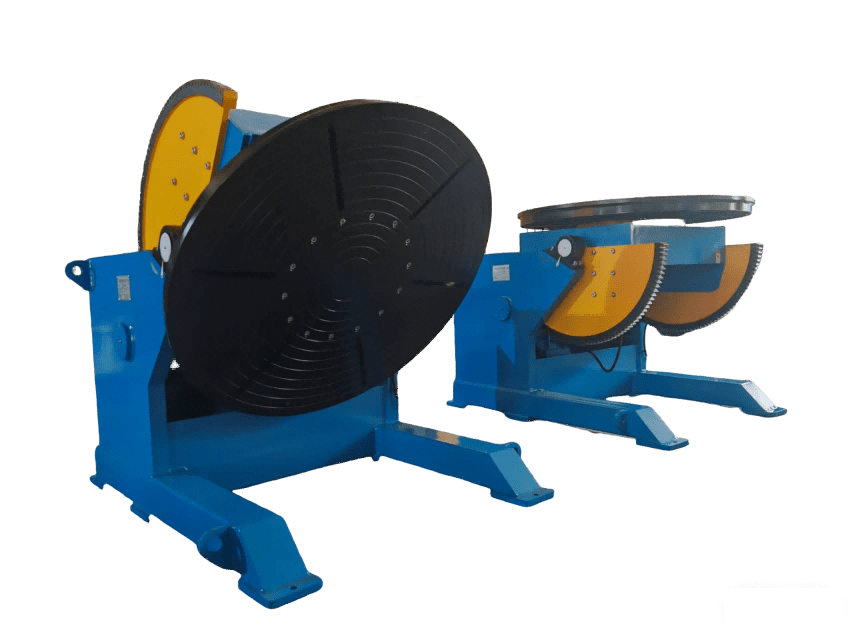
For small cylindrical parts, a bench turntable or a small positioner changes how you weld, but the table surface still needs a solid clamp grid.
Leveling should be checked under load, not empty. Set the table on its final footprint, place a straightedge across the corners, and only then adjust the feet or shims. More tables fail from an unloaded level than from bad welding.
Applications Where a DIY Fab Table Pays Off
A 1 m by 2 m DIY fab table covers most small fabrication work without taking over a bay. The table earns its space in repair shops, maintenance departments, and small production cells where parts are short enough to reach from one side. For bracket runs, the difference between a flat table and working on sawhorses is that every part can be checked against the same reference surface.
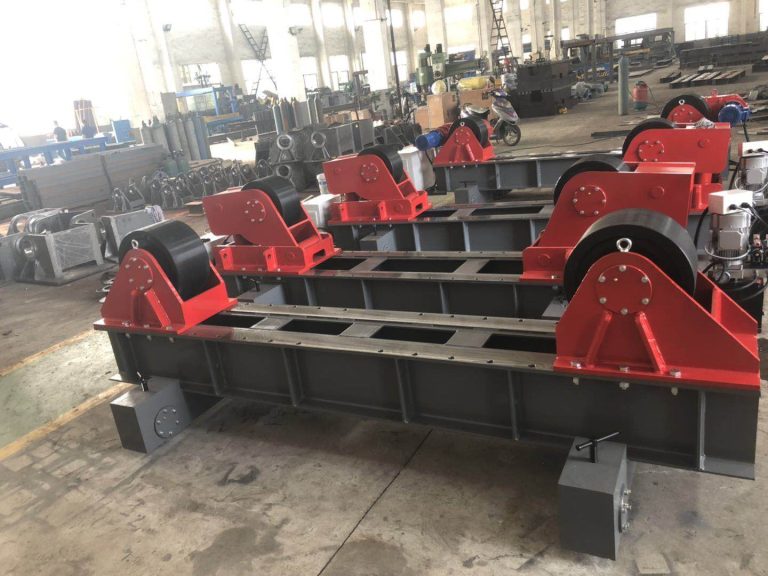
Long workpieces do not automatically call for a longer table. Pipe, channel, and rail often need continuous support at two points rather than a wider top. Two matching stands or a pipe rotator can carry the ends while the fab table holds the central fixture. The table is the reference; it does not have to physically hold the entire job.
Agricultural shops and prototype groups get the most from a well designed DIY fab table because the work mix changes week to week. A fixed table with a good clamping grid is easier to adapt than a specialized fixture. If most of the work is round or requires rotation, a small welding positioner helps more than extra holes in the top, but it does not replace flatness.
Confirming DIY Fab Table Specifications Before You Build
Most tables begin well and then fail at a few avoidable points: a top that was ordered undersized, a cross rib pattern that does not line up with the work, or casters that cannot handle the final weight. The fix is to settle these numbers before cutting.
At Wuxi ABOKE Machinery, we spend most of our time on production positioners and large weld automation, but many customer questions start with a simple workbench. Send your planned top dimensions, material thickness, and the heaviest part you will build to [email protected] or call +86 13616174307. We will review the frame structure and clamping layout and tell you whether a DIY fab table is the right tool or whether a small welding positioner should carry part of the load.
Common Questions About DIY Fab Tables
How thick should a DIY fab table top be for general welding?
For general repair and small fabrication, a 10 mm steel top is adequate when the frame is well braced. I suggest 12 mm to 16 mm for tables that will see hammering, heavy clamps, or repeated tacking. Thickness alone does not guarantee flatness; a well braced 10 mm top with cross ribs will stay straighter than an unsupported 20 mm plate. If the work involves thin sheet metal, smoothness matters more than thickness because small gaps telegraph into fit-up. For precision work, move to a machined top or a dedicated fixture table rather than a general DIY build.
Is it better to use casters or fixed legs on a fab table?
Many builders assume casters belong on every table. That assumption causes problems when the wheels are undersized or the shop floor slopes. For a table that moves only during setup, two fixed casters and two locking swivels work well. For a table that stays in one place, adjustable pads give better load distribution and remove wheel play entirely. The wheel rating should cover the table and the heaviest workpiece together, not just the bare table. If the table is long, a center support limits sag that casters alone cannot correct.
Can you use a DIY fab table for production welding?
It depends on part mix and cycle time. For low volume repair and one-off fabrication, a DIY fab table works well. For repeated production with fixture changes, a fabricated table can handle the work if the clamping grid is laid out around the fixture. When cycle time drops and part rotation becomes constant, a small welding positioner or turntable often pays back quickly because the operator spends less time repositioning the part. A flat table remains useful as the reference station, but it does not have to do the rotating itself.
Should the top be painted or left bare?
In most shops I have worked with, bare steel with a light oil film is easier to maintain than a painted top. Paint interferes with the ground path and burns under spatter. A bare top will surface rust in humid conditions, but a quick pass with a flap disc removes it. If you need a separate surface for aluminum or stainless, use a dedicated cover sheet to avoid carbon contamination. Before you commit to a top finish and hole pattern for your DIY fab table, send your most common part dimensions and material to [email protected]. A short note about the work will give you a more specific answer than any general rule.
If you’re interested, check out these related articles:
Tube to Tube Automatic Welding for Boiler Header Joints
Evaluate ROI of Welding Automation Business Investment
CNC Water Jet Cutting: Precision, No Heat, Any Material
Custom Welding Automation Solutions for Industrial Manufacturing